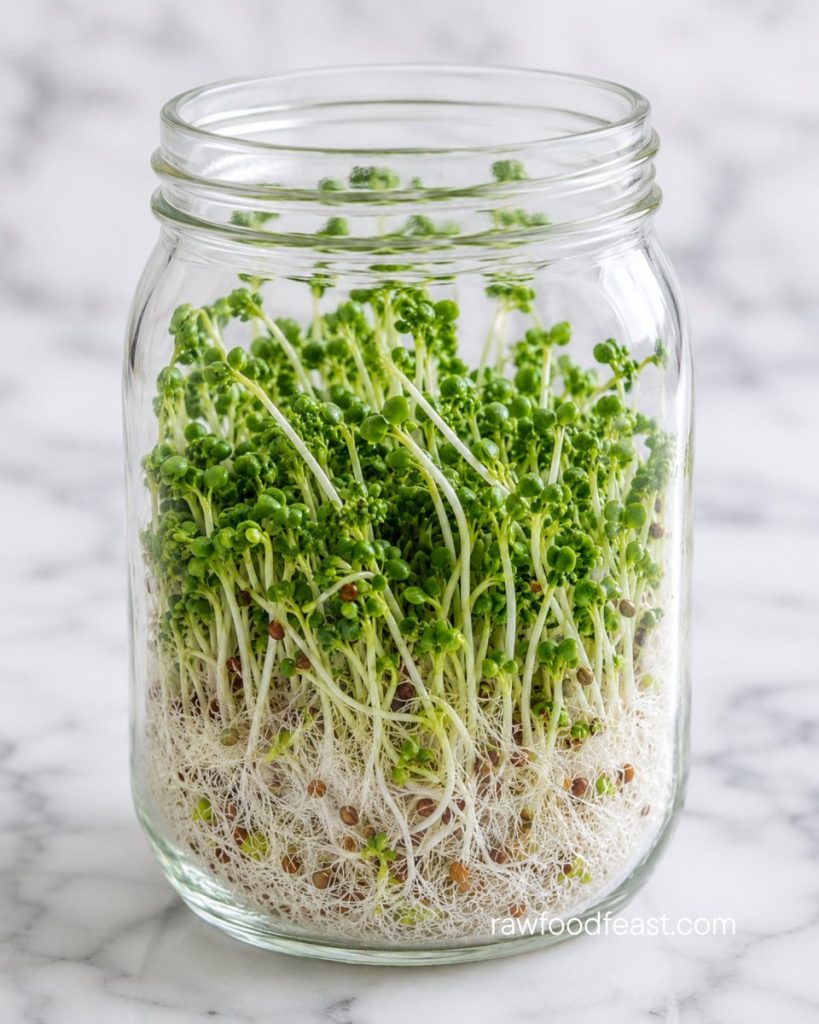
You walk over to your sprouting jar on the third morning and there’s a thin layer of white fuzz at the base. Heart drops. You assume the whole batch is ruined. You’re already reaching for the compost.
Here’s the thing — most of the time, that fuzz isn’t mold. It’s root hairs, and they’re a sign your sprouts are growing exactly as they should. Learning how to prevent mold on sprouts starts with learning to tell the two apart. Once you’ve got both, home sprouting becomes one of the simplest, safest food habits you can keep on your counter.
Is Mold on Sprouts Dangerous?
Real mold on sprouts can be dangerous — especially for kids, pregnant women, and anyone with a compromised immune system. Sprouts grow in the exact conditions mold loves (warm, humid, low-light), so when contamination shows up, it can spread fast through the rest of the batch.
The good news: real mold on home sprouts is less common than people think. The majority of “I think my sprouts are moldy” moments are root hairs — a completely safe, normal part of healthy germination. Learning to tell the two apart turns sprouting from anxious to easy.
White Fuzz on Sprouts: Mold or Root Hairs?
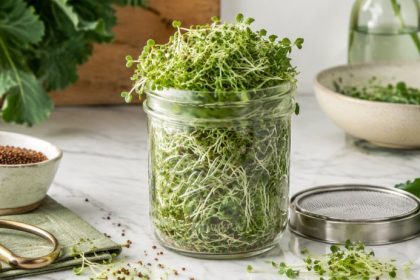
Root hairs are tiny white filaments that grow from the new roots of your sprouts. They appear right where you’d expect roots to be — at the base of the sprout, evenly distributed around the root tip. They often look like a thin, fuzzy white sheath. Rinse the sprouts and the root hairs flatten right back against the root. That’s the give-away.
Mold is different. Mold appears in irregular patches — fuzzy spots that grow in clusters, often grayish or greenish or with a slightly off-white tinge. It usually has a musty smell. It doesn’t disappear when you rinse it, and it tends to spread between rinses rather than between sprouts. Mold also shows up where roots don’t grow — on stems, leaves, or seed hulls.
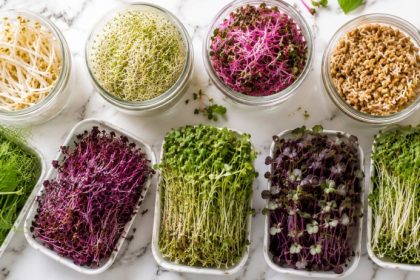
The visual cues differ a little between sprouts and microgreens too — Sprouts vs Microgreens walks through both so you know what you’re looking at depending on what you’re growing.
Why Sprouts Get Moldy (The Real Causes)
Four things cause sprout mold, almost always in combination. Too much moisture between rinses (the seeds sit in standing water and can’t breathe). Too little airflow (a sealed container or an over-stuffed jar). A room that’s too warm (above 75°F / 24°C, mold accelerates). And contaminated seeds — the cause most people overlook.
Most home sprouters get into trouble because they treat sprouts like delicate houseplants — gentle occasional rinsing, sealed container, dark cupboard. Sprouts actually want the opposite. They want twice-daily rinses, generous drainage between rinses, plenty of airflow, and indirect natural light. That combination is also what supports the full nutrient density sprouting offers — covered in Benefits of Sprouting.
How Do You Prevent Mold on Sprouts?
Five practices, in order of importance.
Rinse twice a day, every day — morning and evening, no exceptions. Set a phone reminder until it becomes automatic.
Drain thoroughly between rinses. After rinsing, tilt your jar at a 45-degree angle in a bowl or on a dish rack so all standing water drains away. Sprouts sitting in pooled water is what mold needs.
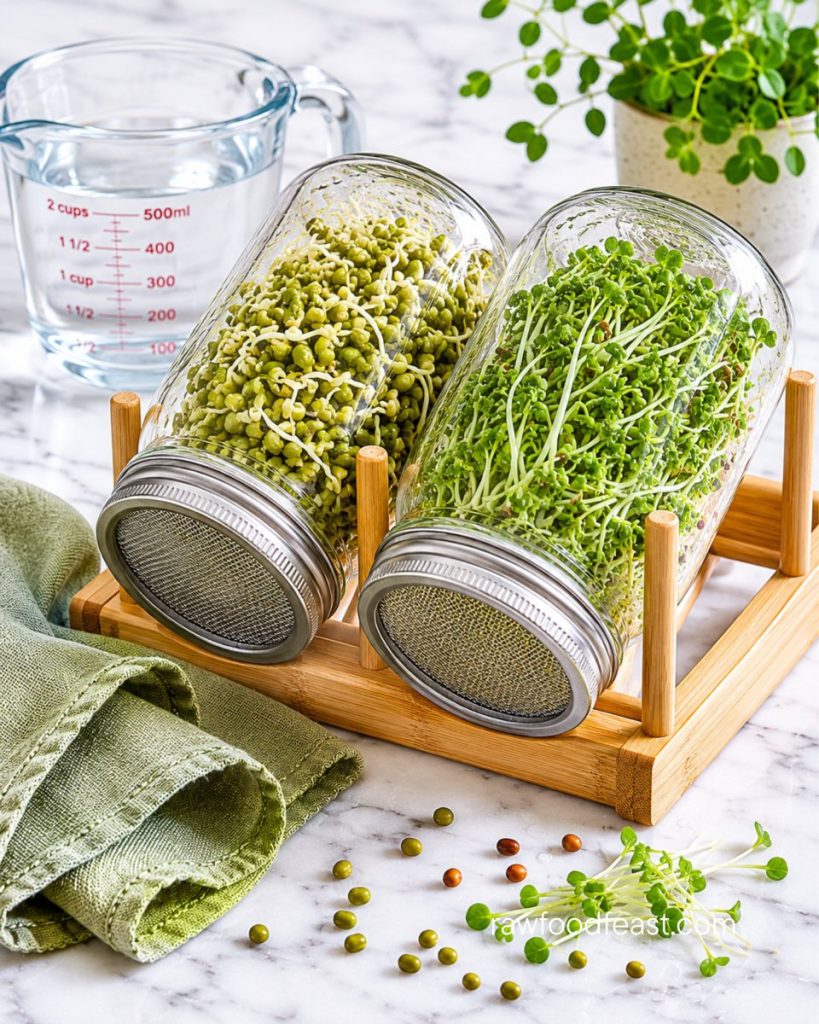
Use a wide-mouth jar with a mesh lid or a purpose-built sprouter. Airflow is non-negotiable. A sealed container is a mold incubator.
Don’t overcrowd the jar. Use no more than 2 tablespoons of seeds per quart-sized jar. The seeds need room to breathe.
Keep them at room temperature in indirect light. A kitchen counter away from direct sun is ideal. Avoid cupboards (no airflow) and direct sunlight (cooks the sprouts).
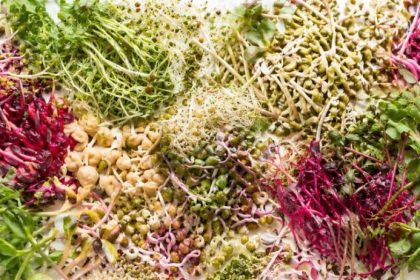
And know when to harvest. Different seeds finish at different times — most are ready in 5 to 7 days, but some are faster and some slower. Leaving sprouts in the jar longer than they need increases mold risk. This free sprouting tool gives you exact timing for the most common seeds so you harvest at the right moment, every batch.
The Single Biggest Factor in Mold-Free Sprouting
The biggest mold prevention factor isn’t a rinsing schedule or a drainage technique — it’s the seeds you start with. Untested seeds are the leading cause of sprout mold and contamination. Cheap bulk seeds often carry low-level bacteria or mold spores that bloom the moment conditions are right.
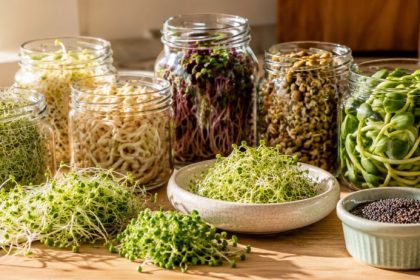
What you want are batch-tested organic seeds, grown specifically for sprouting safety. The Sprouting Company carries exactly this — organic seeds batch-tested for pathogens and germination rates, plus a purpose-built sprouter designed for the clean airflow and angled drainage that mold prevention actually needs.
Use discount code RAWFOODFEAST to save at The Sprouting Company on all products. If you’re sprouting broccoli specifically — the most popular home sprout — Broccoli Sprouts Benefits covers what you’re growing and why it matters.
If sprouting is becoming a regular rhythm in your week, Healthy & Free is the online community built around practical, delicious whole food (un)cooking and juicing. Come join us. You’ll feel it in your energy, your digestion, and your glow.
What to Do If You See Real Mold
If you’ve ruled out root hairs and you’re sure it’s mold, the only safe move is to compost the entire batch. Don’t try to rinse it off. Don’t try to cut around it. Mold spores spread invisibly through the rest of the sprouts long before the fuzz appears. The batch is done.
Clean your jar or sprouter thoroughly with hot soapy water. Some sprouters recommend a final rinse with diluted vinegar for sterilization. Let everything air-dry completely before the next batch.
After a mold batch, look at the four causes from earlier — moisture, airflow, temperature, seed quality — and check which one slipped. It’s usually one obvious thing. If you’d rather grow something grass-style instead, How to Grow Wheatgrass at Home covers the soil and hydroponic methods, both of which avoid the closed-jar conditions that make sprout mold more common in the first place.
Can You Sprout Safely at Home?
Yes — and once you’ve grown a few successful batches, the worry fades. The rhythm becomes automatic. Rinse, drain, rinse, drain. Five to seven days later, you have a jar of the most nutrient-dense food you can grow from a tablespoon of seeds.
Home sprouting has been done safely in kitchens for thousands of years. The tools we have now make it easier and cleaner than ever. The risk is real, but it’s small — and almost entirely preventable with the basics in place.